Hackintosh guide: how to install macOS on an ASRock DeskMini PC

Contents
In this guide we’ll see how to install macOS on a PC (Hackintosh) ASRock DeskMini 310 in dual-boot with Windows 10, using the OpenCore boot loader.
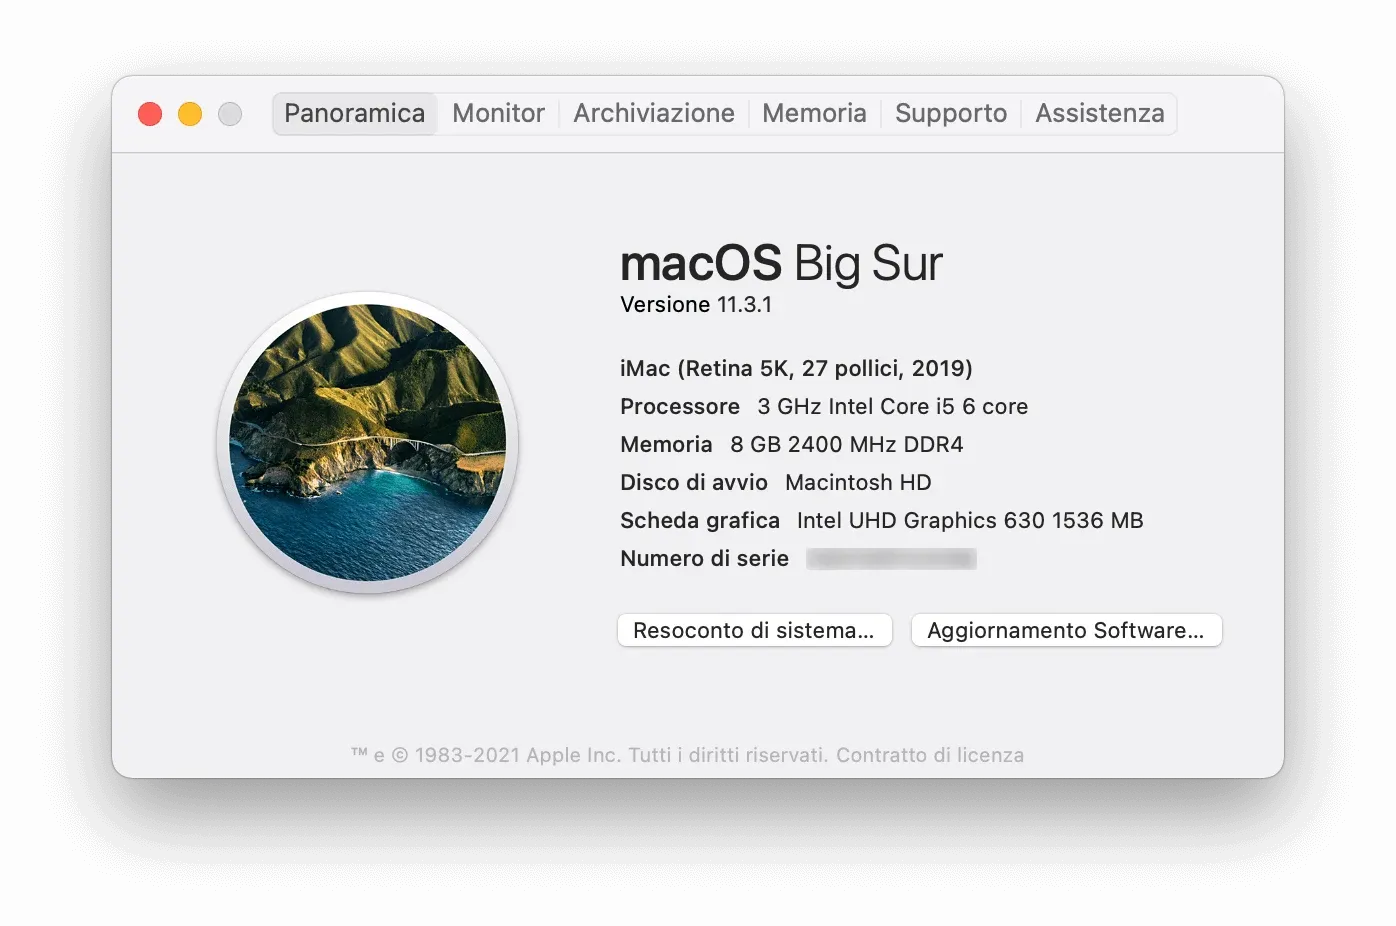
The hardware configuration these steps were tested on, and confirmed to work with, is the following:
- Case: ASRock DeskMini 310 Barebone Mini-PC
- Motherboard: H310M-STX
- CPU: Intel Core i5 9500 3.00 GHz (9th Gen)
- SSD1: Crucial MX500 CT500MX500SSD4 M.2 500 GB (for Windows)
- SSD2: Western Digital WDS250G1B0A Blue S-ATA 250 GB (for macOS)
- RAM: Crucial CT8G4SFS824A 8 GB DDR4 2400 MHz
- Wi-Fi / Bluetooth: BCM94360CS2 Bluetooth 4.0 Wi-Fi Card + Mini-PCI to M.2 Adapter BCM94360CS2 BCM943224PCIEBT2 12+6 Pin
The closer your hardware is to this, the higher your chances of success.
Notes, read them carefully
- I take no responsibility for any damage caused by the information below. Misusing this information can damage your computer. Proceed at your own risk.
- This guide was written for educational and demonstration purposes only.
- When you install macOS on a non-Apple computer, anything can happen. Arm yourself with time and a lot of patience; if everything doesn’t go smoothly on the first try, that’s normal — don’t get discouraged.
- Some of the steps below can only be performed from macOS.
- For the dual-boot with Windows to work, you need two separate hard drives: each operating system must be installed on its own dedicated drive.
- The instructions below are also valid if you want to install macOS only, without dual-boot. In that case, skip steps 1), 5), and 6) of the guide.
- You won’t find detailed information here on how to create the USB sticks with the operating system installers, but there are plenty of dedicated guides on the internet. If you’re stuck, a quick search is all it takes.
- This guide was tested with macOS Big Sur 11.5.2, Microsoft Windows 10, and OpenCore 0.7.2. It might also work with future versions of macOS, but in that case you’ll need to update OpenCore and some kexts to their latest version before proceeding with the installation.
Before you start
- Download the compressed folder efi-opencore-bigsur-11-5-2.zip and OpenCore Configurator.
- Use a DisplayPort cable for the installation process. The HDMI standard is not natively supported and problems may occur during the installation. You’ll still be able to use the HDMI interface later on.
- Reset the BIOS settings to their defaults (Load Setup Defaults) and change a few settings as follows: Advanced > Chipset Configuration > Onboard HD Audio: Enabled
- Advanced > USB Configuration > XHCI Hand-off: Enabled
- Security > Secure Boot: Disabled
- Boot > CSM: Disabled
Create a USB stick with the Windows 10 installer.
Create a USB stick with the macOS installer using the ‘createinstallmedia’ method from Terminal. In this case the USB stick must be formatted as Mac OS Extended (Journaled) with a GUID partition map.
Use OpenCore Configurator to mount the EFI partition of the stick with the macOS installer (Tools -> Mount EFI, then click on “Mount Partition”, next to the entry for the USB stick in question), then extract the attached EFI folder into that path (the EFI partition). If you did everything correctly, in the stick with the macOS installer you should have a partition called “EFI” with a single folder inside — also called “EFI” — containing two subfolders named “BOOT” and “OC”.
Copy OpenCore Configurator and the EFI folder onto another USB stick.
PLEASE NOTE: the EFI file attached here was tested with macOS Big Sur 11.5.2. If you’re installing a different version of macOS, before proceeding make sure you’ve downloaded and replaced the Lilu.kext, AppleALC.kext, and WhateverGreen.kext kexts with their most recent version in the EFI/OC/Kexts folder.
Installation
- Install Windows 10 on the first hard drive.
- Install macOS Big Sur on the second hard drive.
- After installing macOS, do not restart the computer. You should be able to log in and use the operating system right away. Copy OpenCore Configurator and the compressed EFI folder to the desktop, then unplug every USB stick or device currently connected to the computer. Extract the EFI folder and — as explained above — don’t forget to check that you’re using the latest version of the Lilu, AppleALC, and WhateverGreen kexts.
- Open OpenCore Configurator and mount the EFI partition of the hard drive where macOS is installed. Replace the EFI folder inside it with your EFI folder, just as you did earlier when setting up the macOS installation stick.
- Restart the computer, go into the BIOS, and change the boot order so that the first boot partition is “macOS EFI Boot Loader”. It must not be set to Windows. Save and restart.
- Select Windows as the boot option and install the BCM94360CS2 Wi-Fi and Bluetooth network card drivers from here.
- Have fun!
If Windows doesn’t show up as a boot option or you get errors after selecting it, you’ll need some additional configuration, explained in detail here.
Happy Hackintosh and good luck!
Frequently asked questions
Is installing macOS on a non-Apple PC legal?
The macOS license only allows installation on Apple hardware, so a Hackintosh violates it. That's why this guide is explicitly for educational and demonstration purposes: it's meant to help you understand how an operating system's boot process works, not to replace buying a Mac.
Does it work with hardware different from the one listed?
The closer your hardware is to what's listed, the higher your chances. The easy case is an Intel processor of that generation with integrated graphics; with different motherboards, graphics cards, and network chips you need different kexts and you have to redo the OpenCore configuration. This is not a guide you can follow blindly.
Does building a Hackintosh still make sense today?
Less and less. Apple has completed the transition to Apple Silicon and support for Intel Macs is winding down: an Intel-based Hackintosh is a path that narrows year after year. It's still a great exercise to understand boot loaders, kexts, and firmware, which is why the guide is still here.